Heads in the Clouds

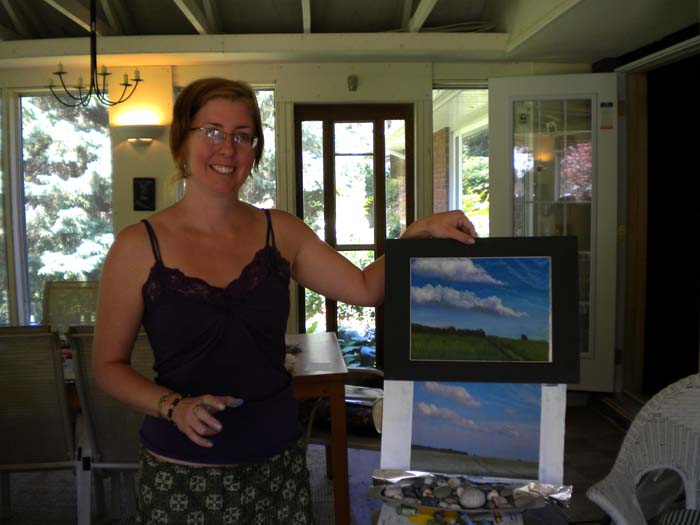
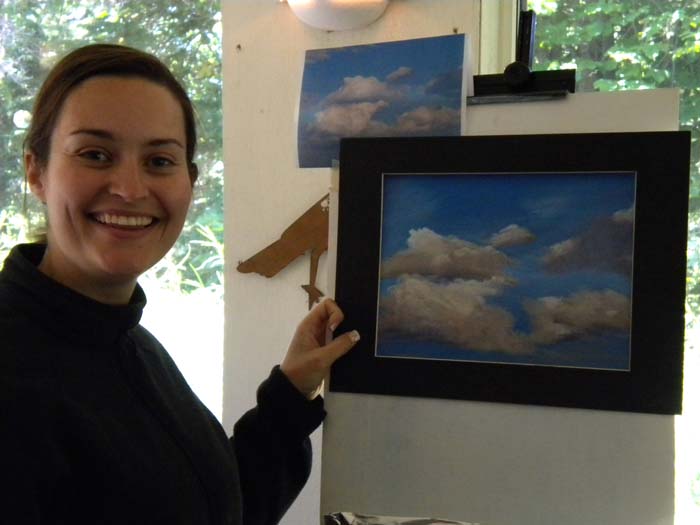
During a recent family visit, three of the women requested a "private" one-day intro to pastel workshop, so we rolled out the clouds... None of these gals had ever tried pastels before--pretty great results, eh?  Congrats to all of you and keep pastelling! :)

Next intro workshop, Aug 8/9 at Meta4 Gallery in Port Perry.

bonnie

ellen

jessie

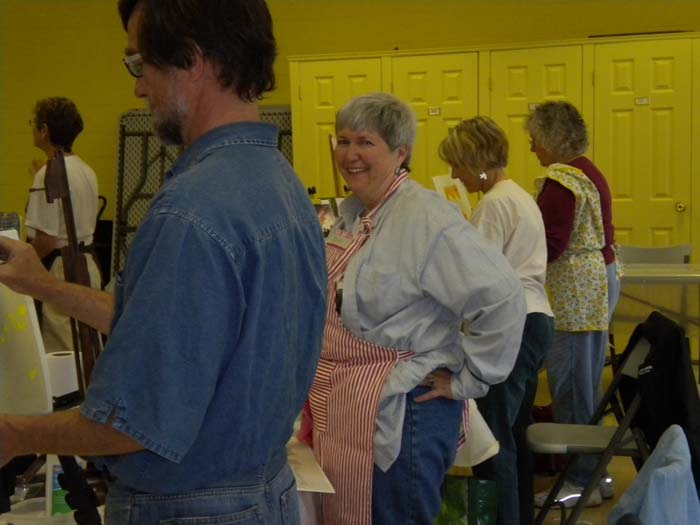
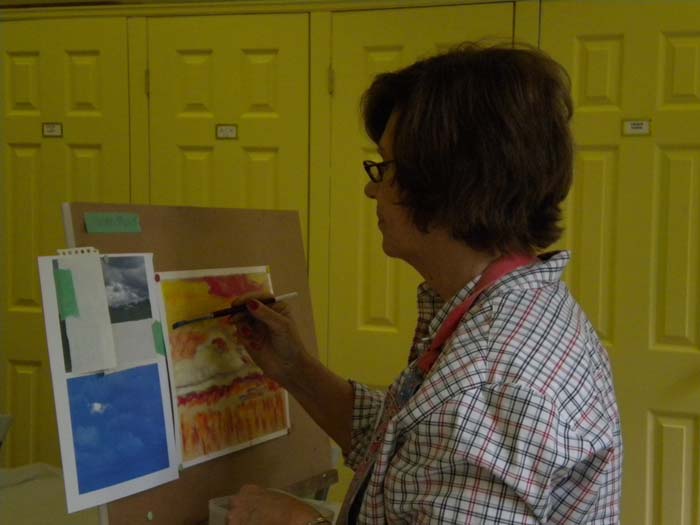
As well, I thought I'd add some photos taken during a big class (20 people!) at the London Brush and Palette Club in June.  Most of these folks were new to pastels, as well. Great work!

teresa

joan

suemoore

New Toys, New Ploys (or, It Can be Easy Being Green)

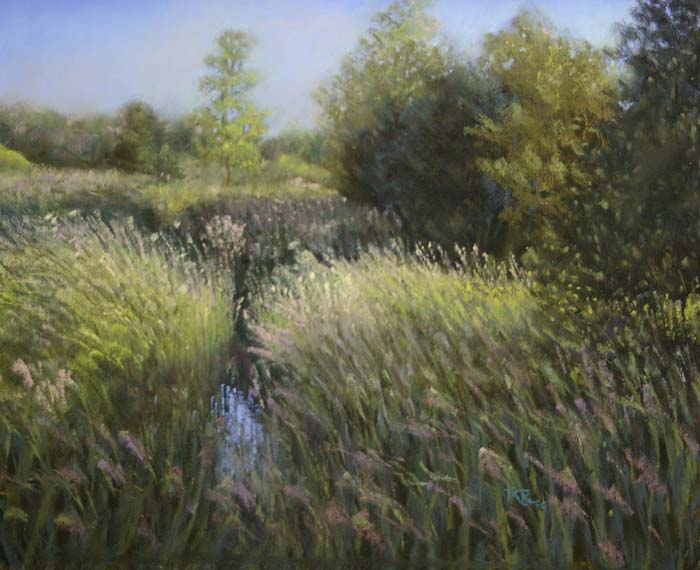
This May for the first time I splurged and traveled to Albuquerque New Mexico for the biannual International Association of Pastel Societies (IAPS) convention.  It's THE place to be for a pastel artist.  Not only did I attend demos by long-admired pastel artists (including Liz Heywood-Sullivan, Les DeMille, Sean Dye and Jimmy Wright), I got to re-connect with buddies from former workshops with Elizabeth Mowry and Richard McKinley.  It was a feast of learning and fun--but one of the best parts was the trade show, at which suppliers of pastel materials showcased their wares and offered them at significantly reduced prices--sweet! I succumbed to temptation (pastels get used up and have to be replaced, after all!) and purchased a whole gorgeous set of Great American Art Works pastels, in a colour selection by Richard McKinley.  Because I have studied with Richard and know that his style and subject matter are similar to my own, I knew that this colour selection would work for me. GAA pastels are very soft (a bit softer than Unisons) but have a square shape, which enables you to create linear effects by tapping the edge instead of drawing a line--see this technique used in this recent piece (from a photo taken on a recent trip to Salt Spring island--a fabulous place for artists!). This set has become my base set now, and I only supplement when needed from other brands--I love these pastels!!

salt-spring-summer

The biggest buzz at the trade show, however, was around the Terry Ludwig booth.  Terry's pastels are also square, but are a little bit harder and grittier than the GAAs.  His claim to fame, however, is the intensity of his hues, especially in dark values.  The pastels were all laid out like candies in a huge spread, the prices were discounted, and the salespeople handed you a box to fill--irrisistible! Having never tried the Ludwigs, I limited my exploration to 16 in a variety of values and colours.  I'm not a draw-entering kinda person (as a result, I don't tend to win anything much) but entry into the door prize draw was automatic with a purchase, so much to my surprise and delight, I won a free set of 60 Ludwig pastels moments before leaving the show for the airport!  I quickly chose a set of 30 cool greens, and a set of 30 intense darks, which arrived by mail several weeks later.  Both of these sets have been proving invaluable as I work on green-heavy summer scenes.

There seem to be two tricks to handling all the greens in a summer scene in pastels:

1) Vary the greens, using warms and cools (mossy golden greens, intense grassy greens, cool silvery greens) and various values (light citrus greens through deep evergreens) to differentiate your trees, shrubs, and grasses, and use them intentionally to create depth in the picture plane (in general, warm and dark brings things forward, cool and light sends things back). See that working in this painting? I really put those Ludwig cool greens to work here.

equinox-afternoon

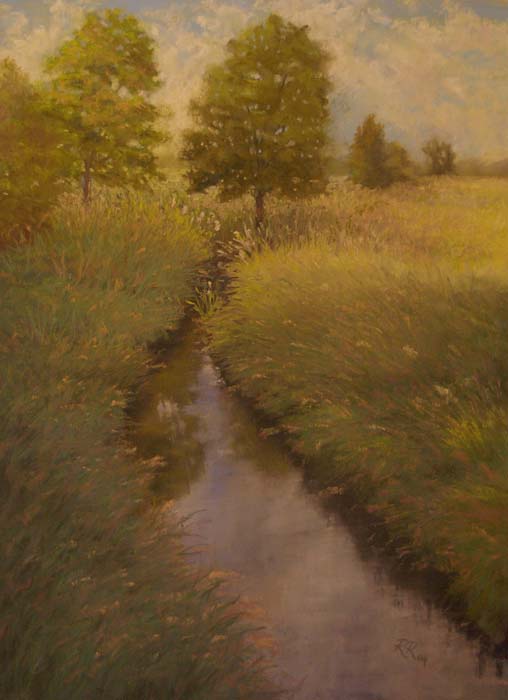
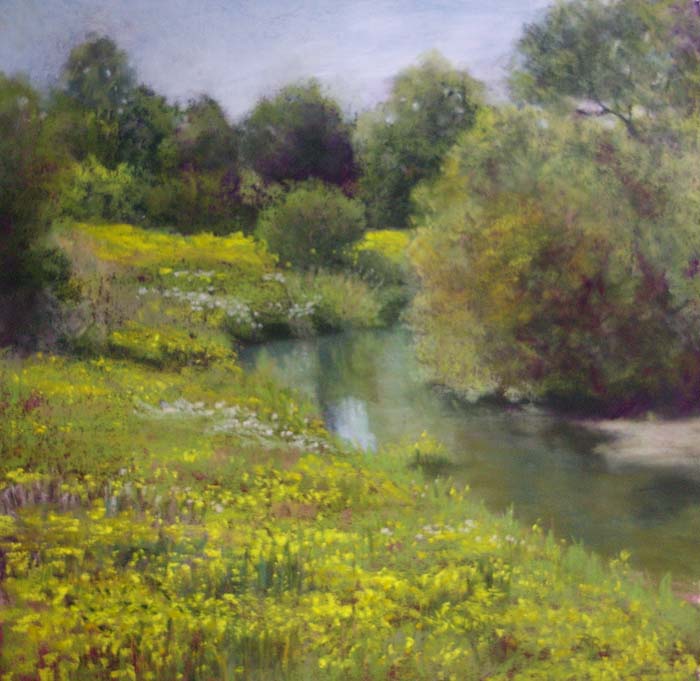
2) Start WAY darker than you intend to finish, when doing your underpainting. In the first painting below, I was experimenting with a watercolour underpainting--a medium in which it is tough to get intense darks (at least for me, a novice to the medium).  While the resulting painting is pleasant, it has a very soft, humid, gentle feel to it (and it was a long slog to get there, too...).  In contrast, the second painting below was underpainted using the Ludwig intense darks in various shades of blue-purple and red-violet (those being the complements of the eventual yellow-greens).  See how much more snap and sparkle this work has? And it was WAY easier to get there.  Lesson learned!

slow-morning

buttercup-meadow

The Power of Negative Thinking

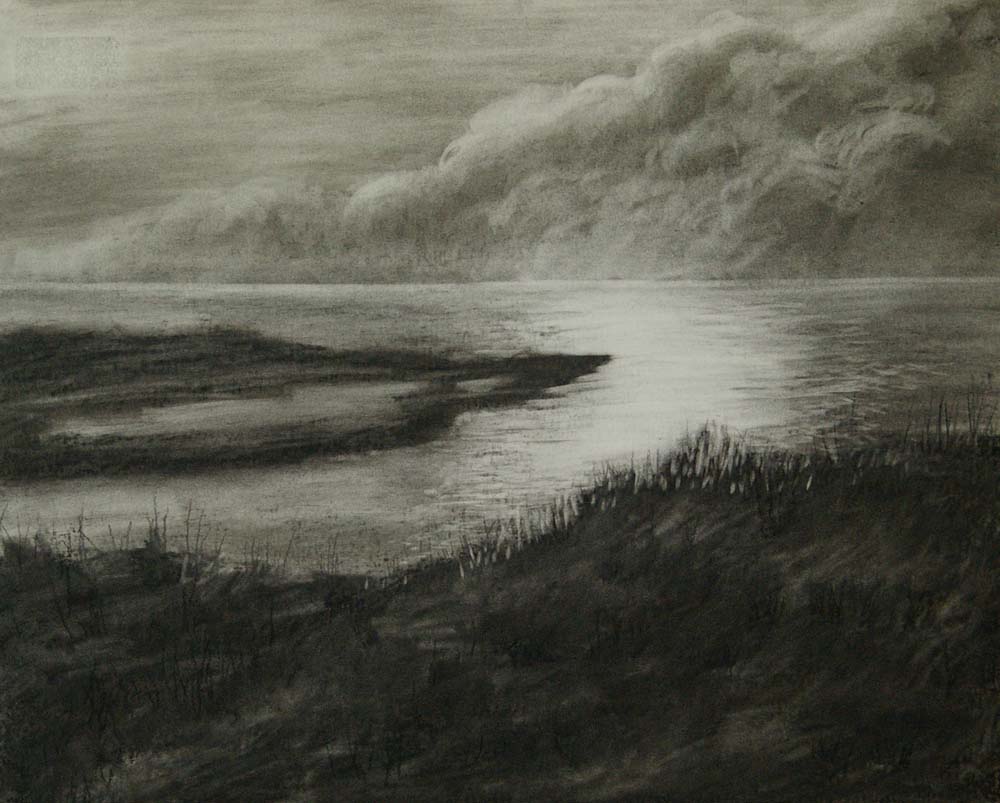
Now, before you get worried that I'm turning into a pessimist, let me explain...I'm talking about a technique I've been trying this past few weeks in which you start by adding a layer of black pastel to the paper, and then erase back to the lights (i.e. work negatively).  It's an idea I got from an American artist, M. Katherine Hurley (familiarly known as Kay Hurley).  According to the DVD I purchased that showcases this technique, she has her students do these as studies,  in order for them to really solidly understand value before moving on to colour, but the resulting dramatic greyscale images are worth using the technique for finished works. After watching Kay's video, I decided to try a few myself. My first attempt was a beach scene at Port Franks, with the sun low in the afternoon sky casting a dazzle of light across the surface of the water--just the kind of strong contrasts that are suited to this type of painting. I started by lightly mapping out the big value shapes on my piece of Canson (acid-free) mat board with a dark grey pastel pencil. I chose this support because Kay mentions in her video that the technique does not work on sanded paper, my usual support of choice (the pastel stains the sanded surface, preventing erasure back to white).  I decided to work on the reverse side of the board, as the front had a rather mechanical machine texture to it that I didn't want showing up in the painting.  First, though, I removed a small price sticker--and as you'll see later, this decision taught me what NOT to do!  The residue from that sticker just would not come off or be covered up, and I'll have to crop the final painting to eliminate it.  I've left it in the image below to underline the problem--see a small rectangle showing in the sky in the upper left corner? Lesson learned!

Anyway, that realization was yet in the future as I began laying down a fairly even coat of Rembrandt (Kay's recommendation for this technique) black pastel in the areas that would be very dark--the silhouetted grasses and the dune in the foreground. Taking a paper towel (I've heard that Viva is the best to prevent lint on your painting), I rubbed in this section until the black was pretty solid.  Then, using the pastel residue on the paper towel, I rubbed in the other values, working darkest to lightest areas, and using more or fewer strokes to obtain the approximate values of grey I wanted in each area.  I learned that it's really important to stroke the paper towel ONLY in the direction you want the marks to be--for example, in the sky, I stroked only evenly side to side, to obtain a smooth even coat of grey for the sky.  DON'T rub round and round or randomly in what is going to be a smooth area like a sky--these marks will stay, no matter what you do, and you aren't going to add or take away very much in these large lighter grey areas, so there's not much chance to correct it later on. On the other hand, I did use rounded marks in the clouds on the horizon, for sure, to get the billowy, voluminous feeling to them.

So, by then I had the basic value structure laid in, except for the lightest lights.  Next I used a variety of erasers, from very hard rubber ones for sharp lines to that putty-like artists' eraser for the very soft shapes (in the cloud).  Working back and forth between adding pastel and erasing it out, I developed the details of the scene.  I was pretty happy with the resulting dramatic waterscape--very unlike my usual soft, subtle work, but kinda appealing!  I called it Smoke on the Water (yup, from the song) for the very smoky effect of the clouds.
smoke-on-the-water

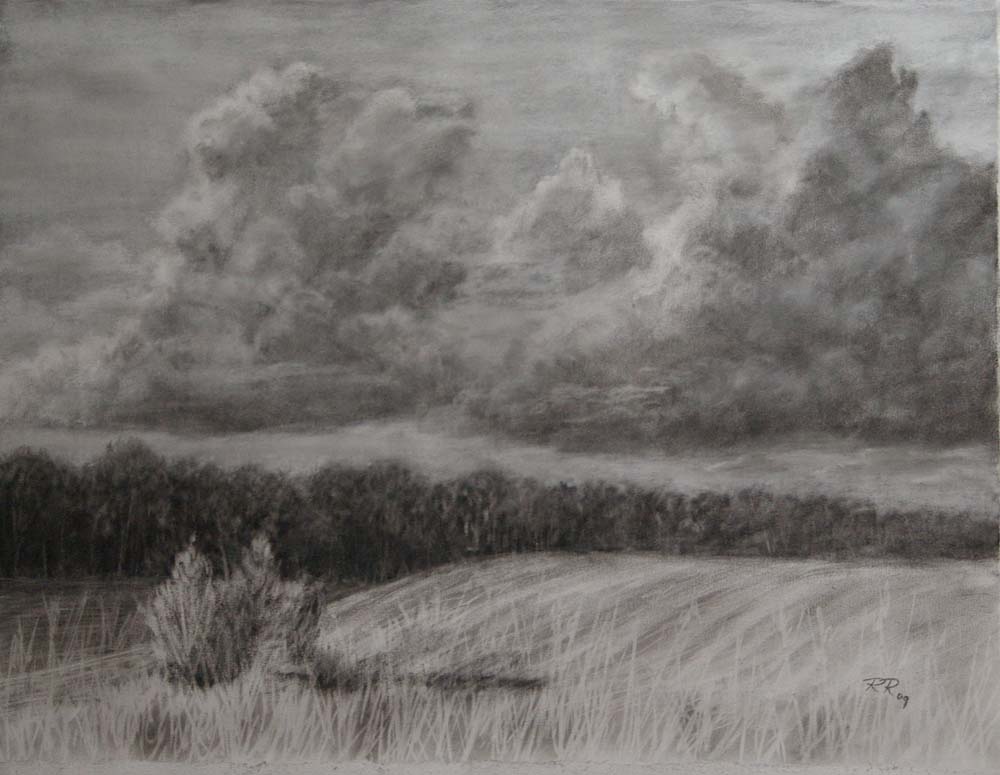
My next attempt was from a photo of nearby fields, with another rather dramatic light effect and fabulous cloud structures. This time I tried a Stonehenge watercolour paper, which I actually found more difficult to use--the texture seemed to fight me quite a bit.  If I tried this again, I'd be sure to get a hot-pressed paper with a smoother surface.  I was again reasonably happy with the result, however, and learned more about the technique while painting Summer Afternoon.
summer-afternoon

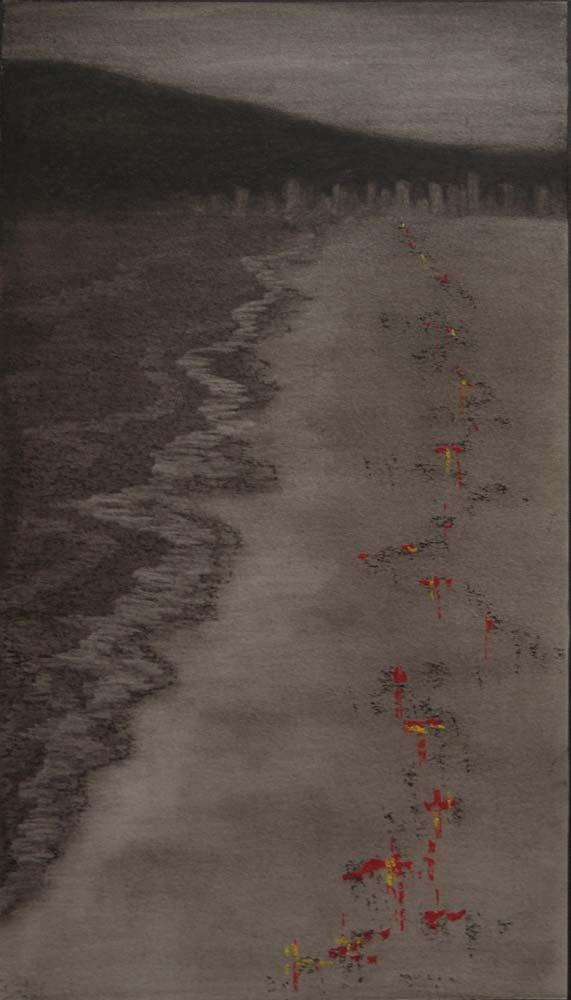
My third try was something quite different--an experiment.  Going back to the reverse side of a piece of mat board, I sketched out a scene from a photo I took last week at the Spanish Banks beach in Vancouver.  The waterline stretched away from me toward the city skyline, which showed well against the dark mountain shape on the horizon.  I'd snapped the photo to capture the gesture of an Asian woman and her little girl, who were walking the beach ahead of me (and this scene may well become a full colour painting someday soon), but it was the dramatic sweep of the shoreline, and the strong contrasts of the skyline against the mountain, that caused me to select it for this greyscale painting. Following the procedure described above, but with a bit more confidence this time, I painted the strong dark shapes and erased out the foaming waterline and skyline shapes.  The effect was very graphic.

I had at first thought about adding in a some large calligraphic marks in red pastel to represent the two figures, as a bold contrast to the black & white, and also, somehow, as a statement about the Asian character of Vancouver, how the Chinese culture has had such an effect on the city.  But I hesitated--it seemed too political for me, and the large red marks seemed just too MUCH somehow...so I picked up my new Terry Ludwig brilliant red pastel and just touched it gently in sort of random marks along the line of "footprints" on the beach.  Yes--that was enough to add a note of  brilliance and interest to the somewhat bleak scene.  However, when I showed the painting to my husband (always my best critic), he asked if I was going to call it "Blood on the Beach"--yikes!  That's not the association I had meant at all!  So I added in a brilliant yellow, overlapping some of the red marks, and titled it In the Year of the Dragon.  It's entered into the PAC juried show--we'll see if it gets accepted and, if so, whether it ends up in the landscape or the abstract category--it's a bit of both, for sure.
in-the-year-of-the-dragon

I doubt that this is a direction I'll pursue very much more, but I do think I'll adapt it as an exercise for future students--you REALLY have to think about and understand value in order to do it!  It's a great learning tool, and the results are certainly eye-catching.
Pastel Pals' Show

Although I have been too tardy about posting to get this post out before the end of the show, I still wanted to mention a great show I saw in May at the Sunrise Gallery in Burlington, Ontario.  A group of pastel painters who paint en plein air almost every week put together a fabulous collection of their works.  I was so impressed by the variety and high calibre of the paintings on display, it almost made me want to do more painting outdoors, myself, though I know I don't do my best work that way. Shown here are (l. to r.) Jessie Grant, Cathy Cullis, and Ann Kelly Walsh whose work was featured in the show with that of  several others.  I admire the work of all three of these friends. Ann, in fact, was my very first pastel teacher, and it was her throwaway comment to me at my easel "You do know you have talent, don't you?" that gave me the confidence to continue.  I still have the little tonal painting of a pear that was my very first pastel work, completed as the first exercise in Ann's class. And I still like it!  I also recently bought a great small painting by Cathy Cullis for my own collection.  It's a vivid little piece of a small trickle of water zigzagging its way between rocks, titled Winding Down.  I love its intensity and pattern, and the title is my promise to myself in relation to my (non-painting) career--wind it down so I can retire and get painting full time! Jessie Grant is the tireless coordinator of our Pastel Artists Canada show intakes--how she keeps all the images and names and dates straight is a miracle, and throughout it all she stays calm and gracious.  Thank you Jessie!

I hope these friends exhibit together again someday--it was a terrific show, and a great promotion for pastels!

monday-painters

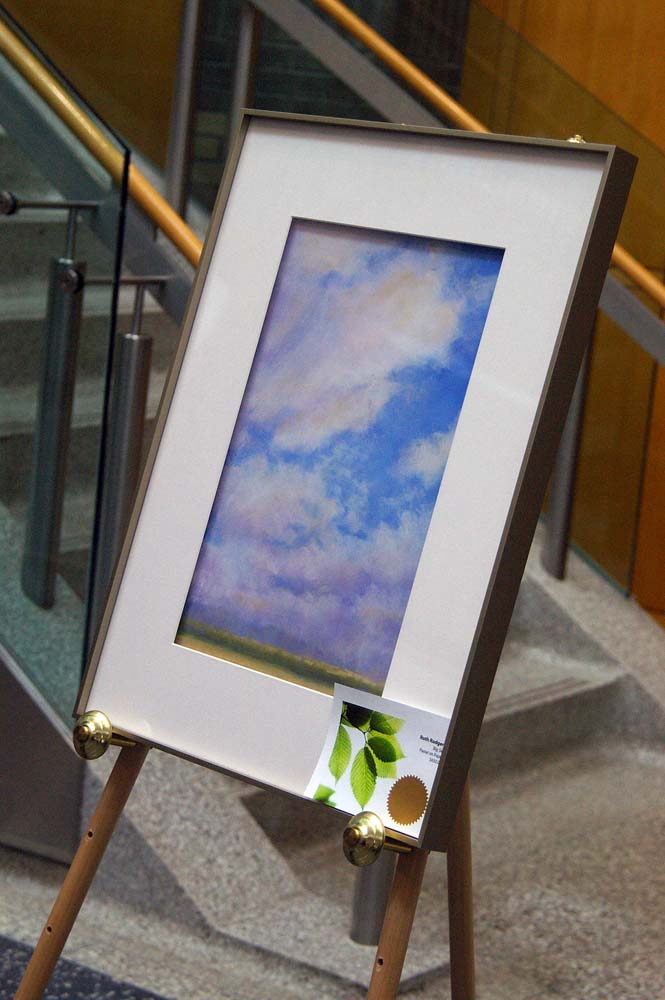
Big Sky Win

The Convention Place within the Whitby Mental Health Centre recently hosted their first invitational art show, juried by the owners of the Station Gallery in Whitby.  The response was enthusiastic, according to the organizers, and the final selection included 40 entries from patients, staff, and community artists.  At a gala opening on May 9, 2009, the award winners were announced, and I'm very pleased to say that my entry Big Sky won third place.  Here is the piece, which will stay on display at The Convention Place all summer. big-sky

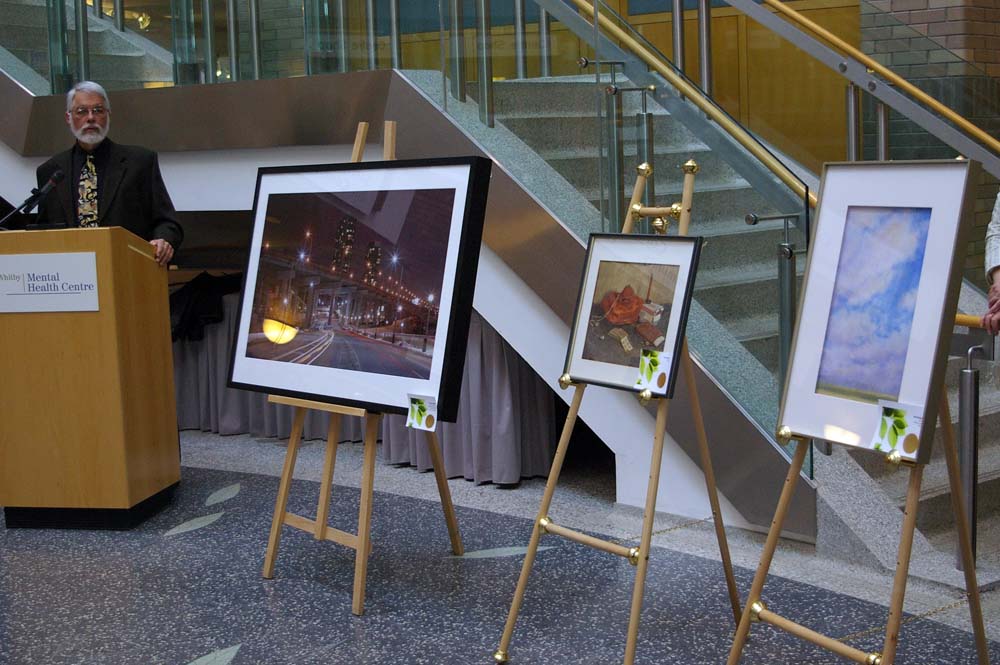
At the opening, McLaughlin Gallery director David Aurandt (seen below with the first, second, and third place pieces) spoke persuasively about the place of creativity in a balanced life, and congratulated all the artists.  It was a great community event, and I'm proud to have been part of it.

whitby-show